How to Overlay a Picture on a Video in CapCut (2026 Guide)
Are you trying to find a quick tutorial on understanding how to overlay a picture on a video in CapCut? Do you want assistance adding overlays to your film, such as personalized stickers or images? If so, how can you get rid of the background of overlay graphics in CapCut?
In view of its excellent capabilities and easy-to-use design, CapCut Pro APK is a popular tool for editing TikTok in addition to Reels, especially for short videos on YouTube. You may produce clips of a high calibre by including overlays like a logo, a subscribe button, or a reply quip.
Basic instructions about how to overlay a picture on a video in CapCut aesthetically appealing and high-quality will be provided in this lesson, which will draw in onlookers.
Why Overlay a Picture on a Video in CapCut?
You may overlay a couple of pictures across your backdrop video using an overlay function, which is also known as a picture-in-picture [PIP] feature. Take advantage of this functionality for the following reasons:
Branding: Including your logo or watermark.
Context: By inserting an image of the product you’re speaking about.
Humour: By adding a reaction picture of an image or a trending sticker.
Tutorials: Include screenshots or “talking head” photos.
How to Add a Picture Overlay in CapCut?
How to Add Overlay in CapCut Mobile?
If you want to add overlay in Capcut, follow these steps:
Step 1: Start Your Project:
Subsequently, open CapCut and select the “New Project” button. After selecting the primary clip to be used as the backdrop, press the “Add” option.
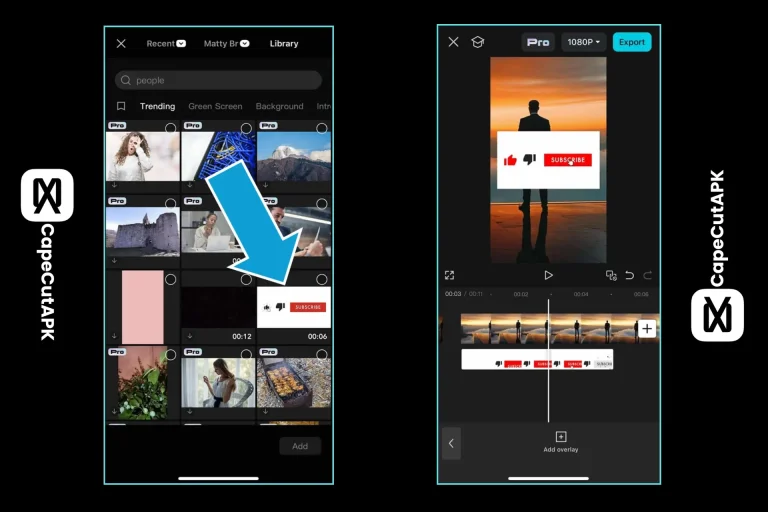
Step 2: Locate the overlay option
Select the “Overlay” tab over the timeline, which typically shows two identical squares stacked upon each other, and finally select “Add Overlay.”

Step 3: Pick the Image
Choose a particular image by opening your photo collection or selecting pictures and then tapping the “Add” icon.
Step 4: Adjust the image’s position and size.
You can use a pair of fingers to squeeze the image to adjust its size, or you can simply pick it up and move it toward a new spot.
Step 5: Timing of the Picture”
Move the two sidebars of your picture or image clip in the timeline to define its appearance and the duration it will display.
how to add overlay on capcut pC?
To add overlay in capcut PC, follow these simple steps:
Step 1: Begin a New Initiative
To begin an innovative CapCut video creation, launch the application on your PC and tap “New Project.” Drag and drop the supplementary video onto the screen behind the principal clip after selecting it by selecting “Import.”
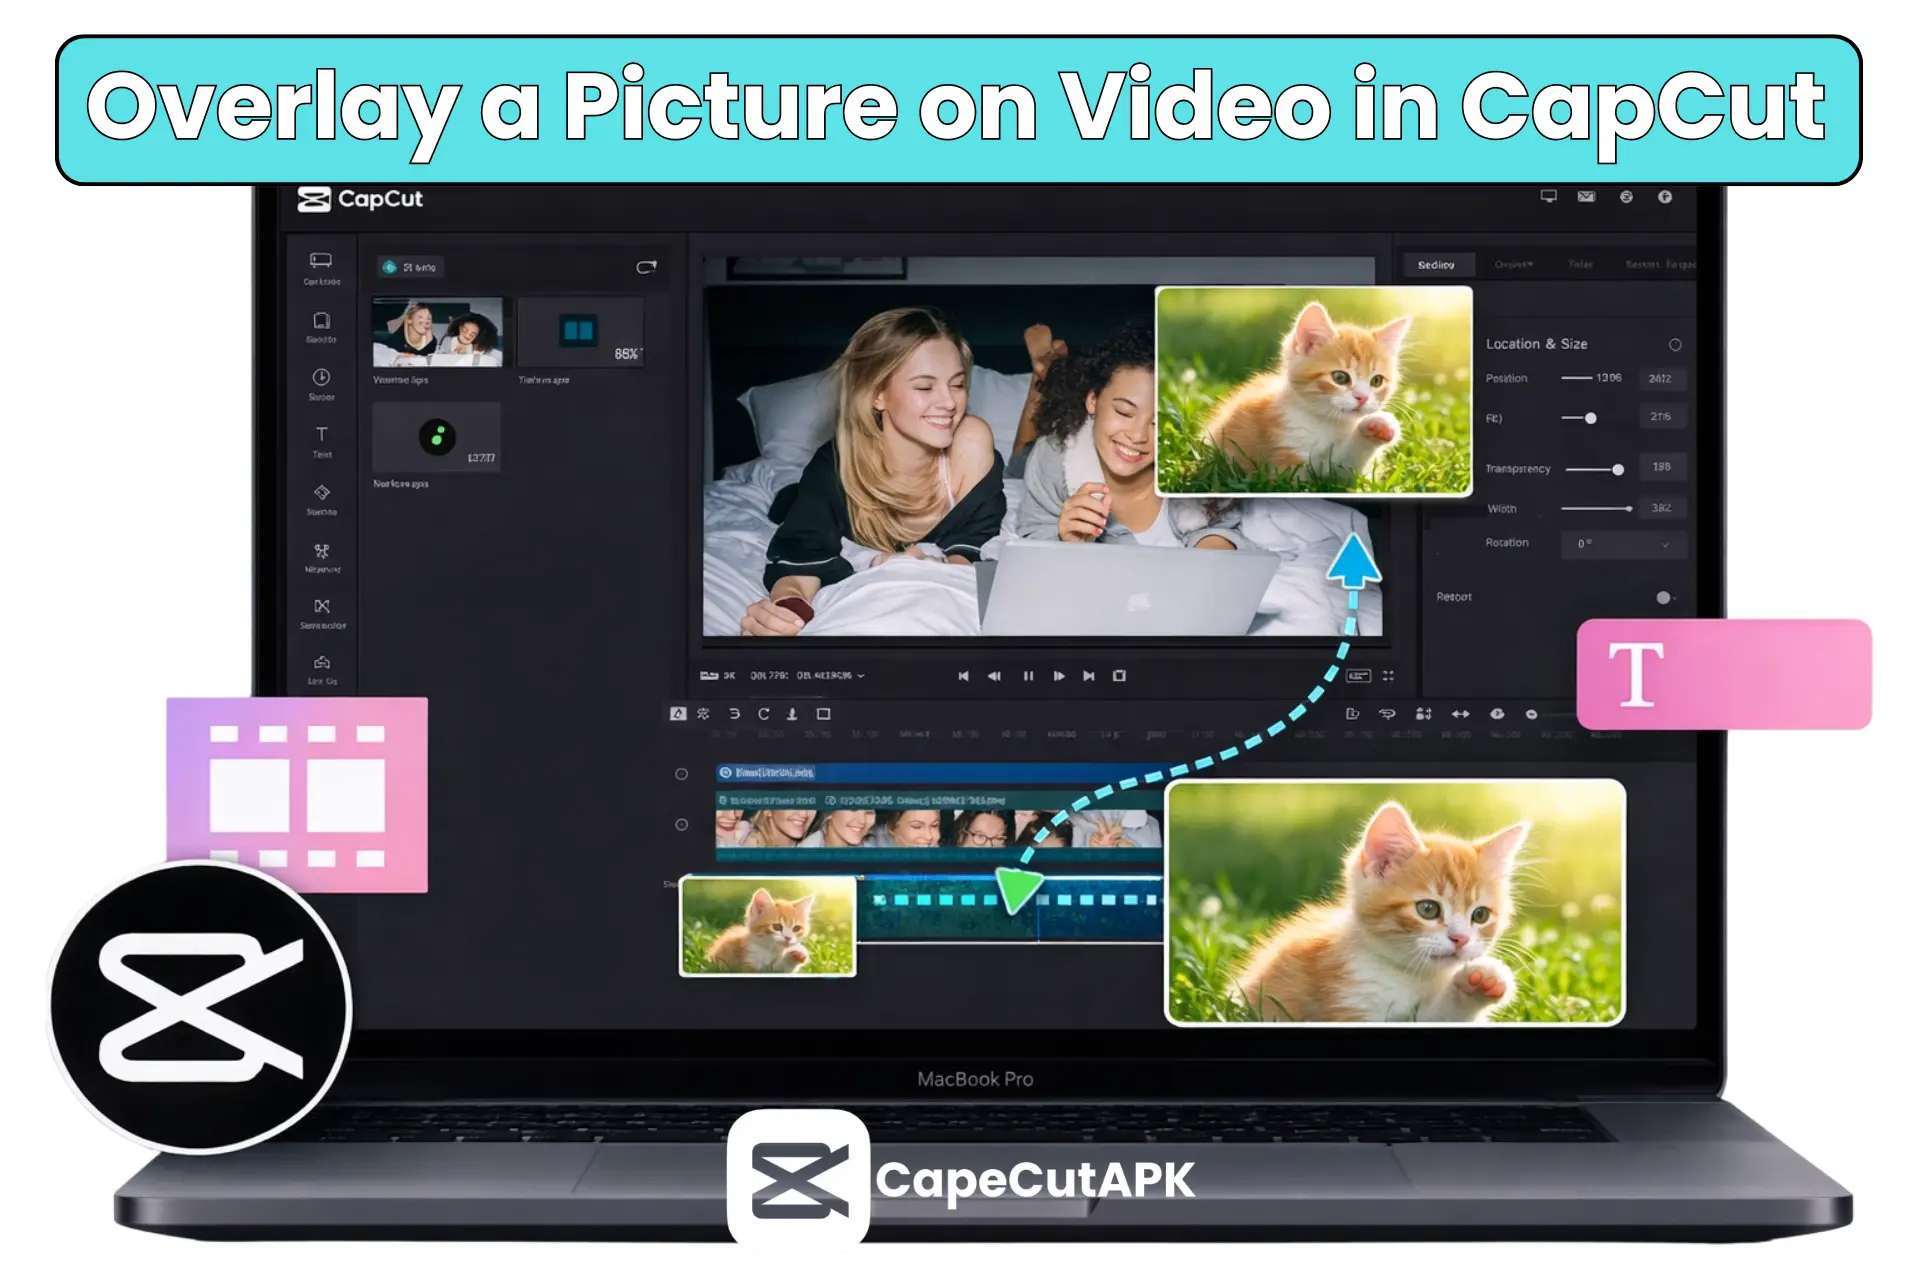
Step 2: Include an image as well as a video overlay.
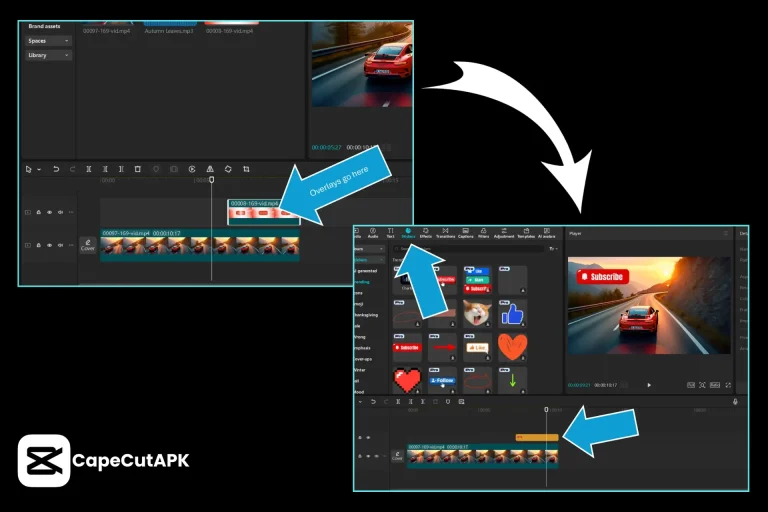
You may now use a picture or video taken from the CapCut inventory library and transfer one from your personal collection. On the timeline, drag and drop the newly created overlay above the primary clip.
Step 3: Adjust the Overlay’s Placement.
The span of the overlay in the time frame needs to be altered to match the rearranging or adjusting of the overlay into your own window’s text.
Step 4: Include Text, Effects, or Stickers:
If you would like, you could further improve the overlay by including more text, illustrations, or stylistic components.
Step 5: Export the video
After editing has been finished, select a frame rate as well as quality by clicking the “Export” tab and then save or send out the produced video.
Advanced Styling to Make Overlay Professional
The best way to increase engagement with your videos is to add styling rather than simply dropping in an image.
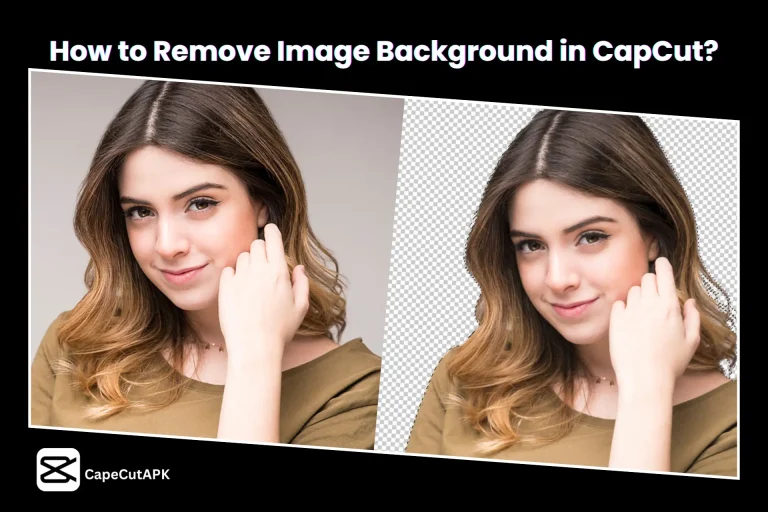
To remove background (auto cutout):
Typical Troubleshooting Advice
Overlay Not Visible:
Position the control system within the overlay region of the slider to see the overlay that is visible.
Layer Order Conflict(s):
You may choose which toppings are going to be placed on top of one another by selecting the “layer” option in the indicator.
Conclusion
CapCut’s overlay feature allows you to efficiently layer your photos for improved branding as well as stories, which raises participation, reliability, and captivating excellence on social media channels.
After reading this comprehensive article, you’ll learn about how to overlay a picture on a video in CapCut and rank your content.