How to Add Keyframes in CapCut? Best Guide 2026
Do you want to set frames in CapCut? Are you worried about your simple and boring clip? Is there a limit to how many keyframes I can add? Here is the solution to your problem about how to add keyframes in CapCut. Click on the canvas in the basic tab and set the color on frames. To indicate your selected frame and scale the Main Footage Down. That displays the frame around your clip. Do not worry; you can polish your video by adding keyframes to your clip. There is no limit to adding a number of keyframes in CapCut, which allows you to easily make subtle transitions and complex and multi-point animations.
In the field of video editing, keyframes are the best that define the initial and final points of any video animation or transition. Capcut is a flexible, perceptive video editor that provides strong tools for adding keyframes with accuracy-controlled movement and effects. Capcut Pro APK has changed the keyframe animation to be approachable to everyone. With the help of Keyframe, you can create dynamic zoom and motion graphics rather than static animations.
This article is all about how to add keyframes in CapCut. Let’s start!
How to Add keyframes in CapCut (Step-by-Step)?
You can add keyframes in CapCut Pro APK in a simple way, whether you are editing any animation on a mobile phone or PC.
Could you add a keyframe in CapCut on mobile?
The interface of mobile is designed for high speed and touch-based accuracy. Follow the steps given below:
Step 1: Open the CapCut application, go to editing, create a “New project”, and upload your video or clip.
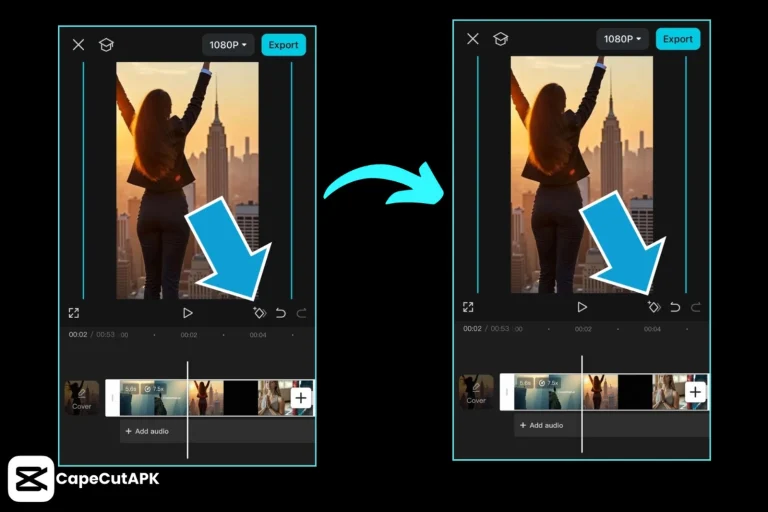
Step 2: Click the clip on your timeline to show up. You will get a Diamond Icon present under the video preview window.
Step 3: Point to where you need to start the movement, shift the playhead toward it, and click the Diamond Icon. A little red diamond will appear on the video.
Step 4: Shift the playhead to move down the timeline. Rather than clicking the icon once more, pinch, zoom, or shift the video in the preview window. CapCut Pro will spontaneously set the second Keyframe.
Step 5: Replay your clip. You will observe that CapCut automatically sets the motion in between two diamonds.
How to add a keyframe in CapCut on PC?
If you need to add a keyframe to a clip on a PC, follow these steps:
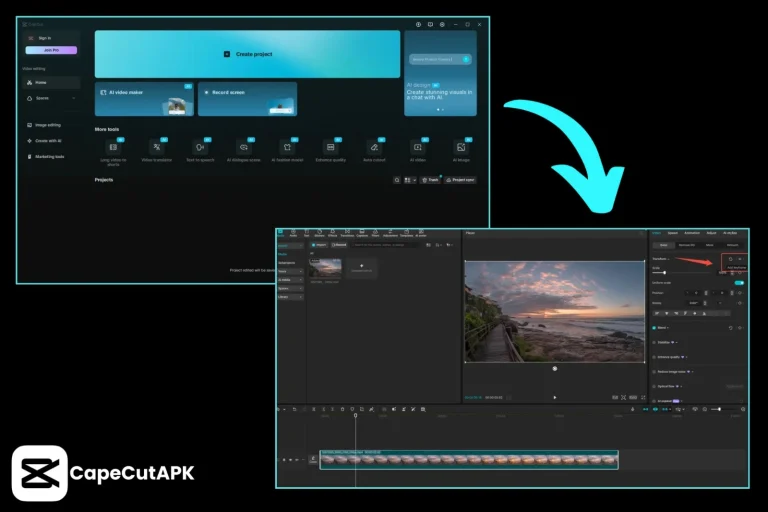
Step 1: Start CapCut on your desktop, then go to the editing. Click the “Create New Project” button and upload your clip, image, or audio.
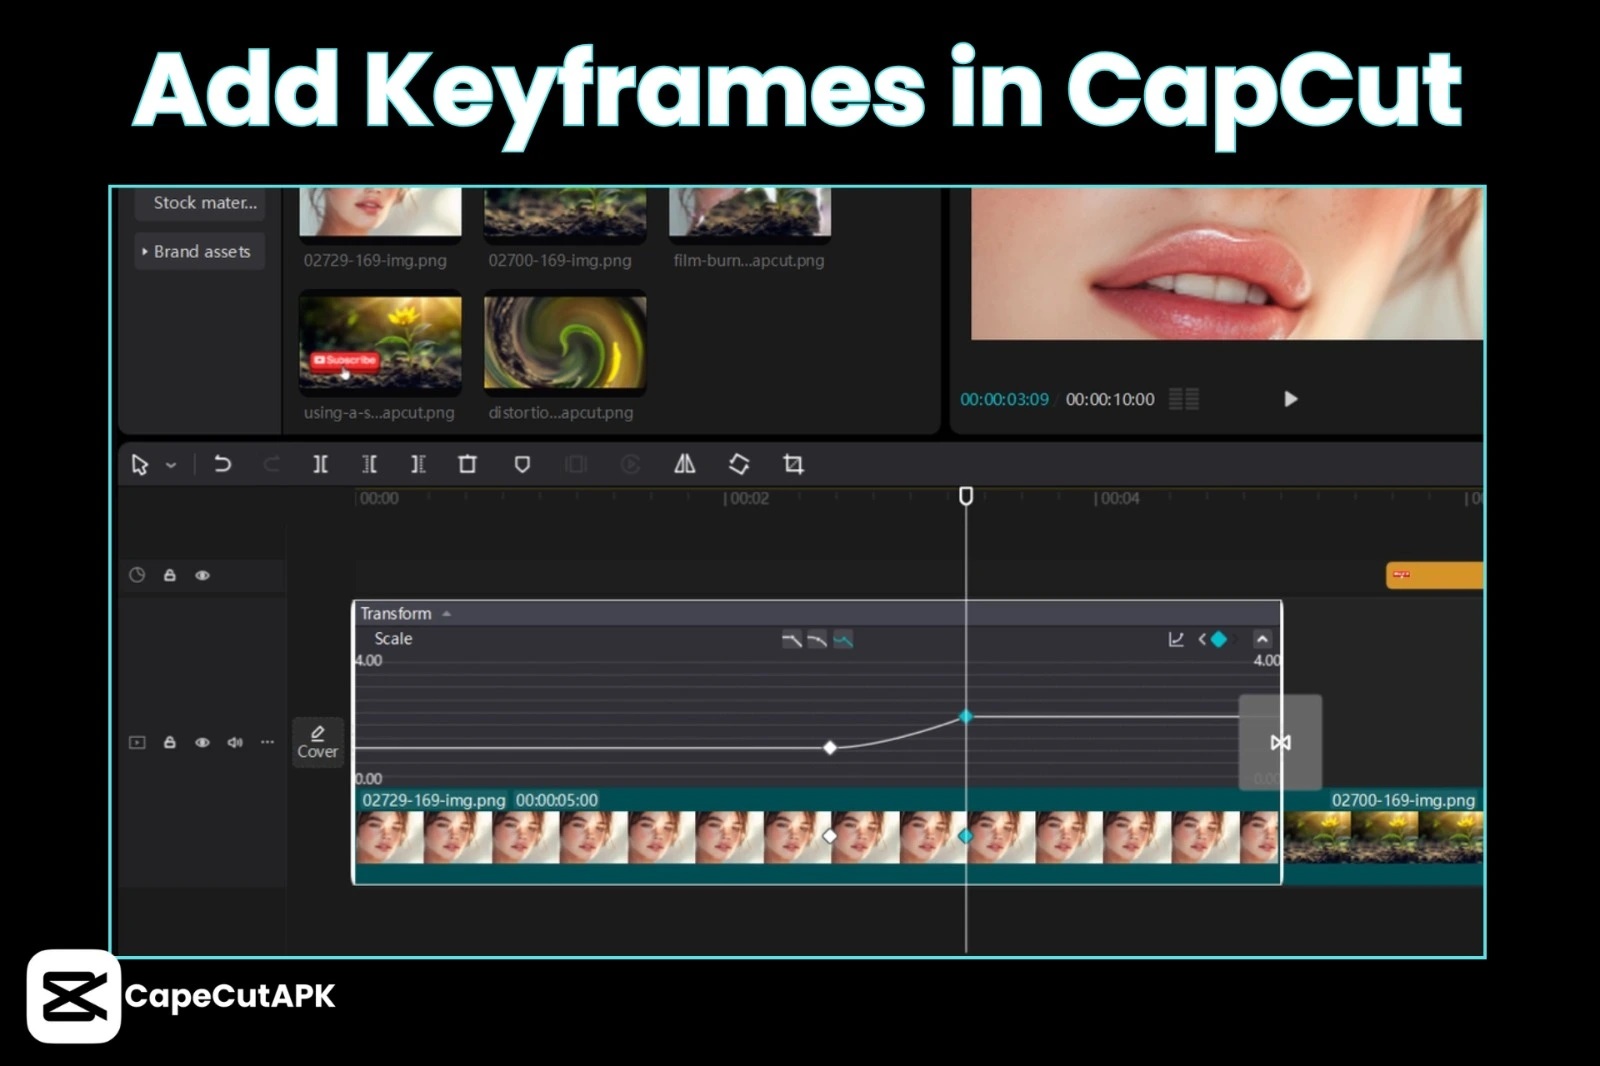
Step 2: Click on your clip in your timeline. In the top-right panel’s configuration, ensure you are below the “video”> “Basic” tab.
Step 3: To see the characteristics such as size, position, capacity, or rotation.
Step 4: In your timeline, shift the playhead forward. Modify the values, such as scale or position. CapCut Pro APK will generate further keyframes automatically.
Step 5: Click the “Graphics” button near the timeline for adding “ease-in” or “ease-out” for extra natural movement to get an extraordinary touch.
Step 6: When your clip seems ready, save it to your device. Click “Export,” select your required resolution and format.
Step 7: Preview the whole video and export after satisfaction.
Keyframe Types: Mobile vs PC
Capcut gives different types of specifications that you can edit. Here is a contrast of keyframe abilities.
| Feature | CapCut Mobile | CapCut PC / Desktop |
| Transform | Position, Scale, and Rotation | Position, Scale, and Rotation |
| Opacity | Simple fade-in/fade-out | Precision opacity percentages |
| Audio | Volume fading points | DVolume, DB control, and Pitch |
| Masking | Animating mask shapes | Advanced mask path keyframing |
| Filters/Effects | Keyframe the intensity | Gaming / teKeyframe individual effect variables |
| Graphs/Curves | Preset flow (Flash, Slow, etc.) | Custom Bezier curve editing |
Conclusion
Keyframes are the hidden element that differentiates between beginner editors and the experts. They provide you with full command of your clip. While you are on a mobile app, it is best for adding Keyframe, or when you use the PC version, it also provides a professional and highly attractive look in your clip. After examining this article, you will be able to add keyframes in CapCut.