How to Add Transitions in CapCut? Best Guide 2026
Have you ever wished to become a master-level content creator using a transition effect, a key tool in Capcut? As you know, the transition effect connects two consecutive shots, providing a smooth, cinematic and attractive flow from one scene to the next.
The transition effect in video editing transforms your ordinary content into more engaging content. Let’s uncover “how to add a transition in Capcut?” in a short article!
How to Add Transitions in CapCut?
You can add transitions in CapCut Pro APK in a straightforward approach. Regardless of whether you are editing on a mobile phone or on a desktop, we’ll walk you through the steps on both.
Add Transition in CapCut on Mobile:
Editing on mobile is quite quick on the go. Follow the steps given below:
Step 1: Open CapCut, start editing a new project or a draft.
Step 2: After adding videos to the editing timeline, tools will appear. You must add two or more clips to a project to add transitions between them.
Step 3: Click the square-shaped icon between the ends of two adjacent videos. This will open a list of transition effects named by the style as fade, blur, slide, dissolve, spin, pull, shake, flash, glitch, distortion, split, etc.
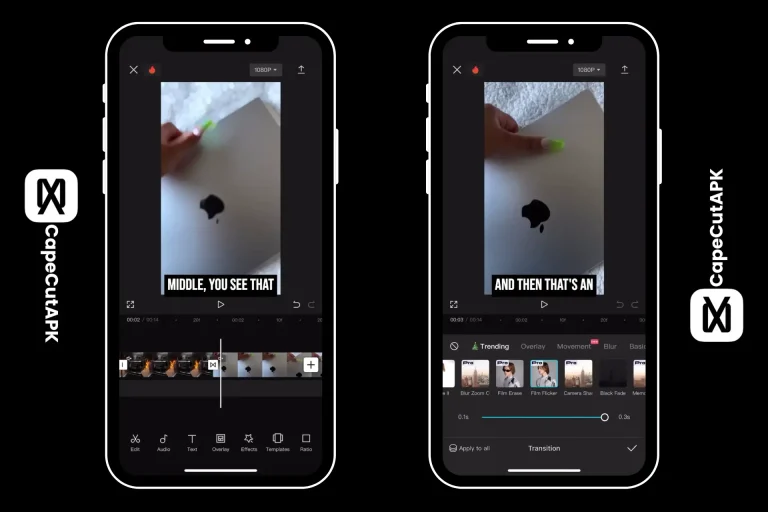
Step 4: Select the transition effect that you find suitable for your clip. Tapping on will let you preview the selected effect.
Step 5: Edit the duration to make it faster or slower, depending on your video’s texture.
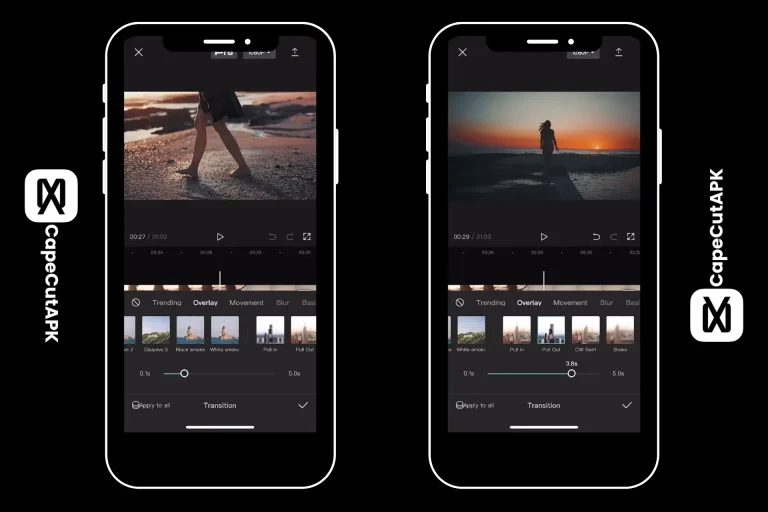
Step 6: Apply the same style to all clips for a consistent look, or use different styles for visual variety.
Step 7: Fine-tune your edits, export once you’re satisfied.
Add Transitions in CapCut on Desktop:
If you prefer editing on your PC with comfort, follow these steps on your PC:
Step 1: Launch CapCut on the desktop and import the clips you want to add transitions to.
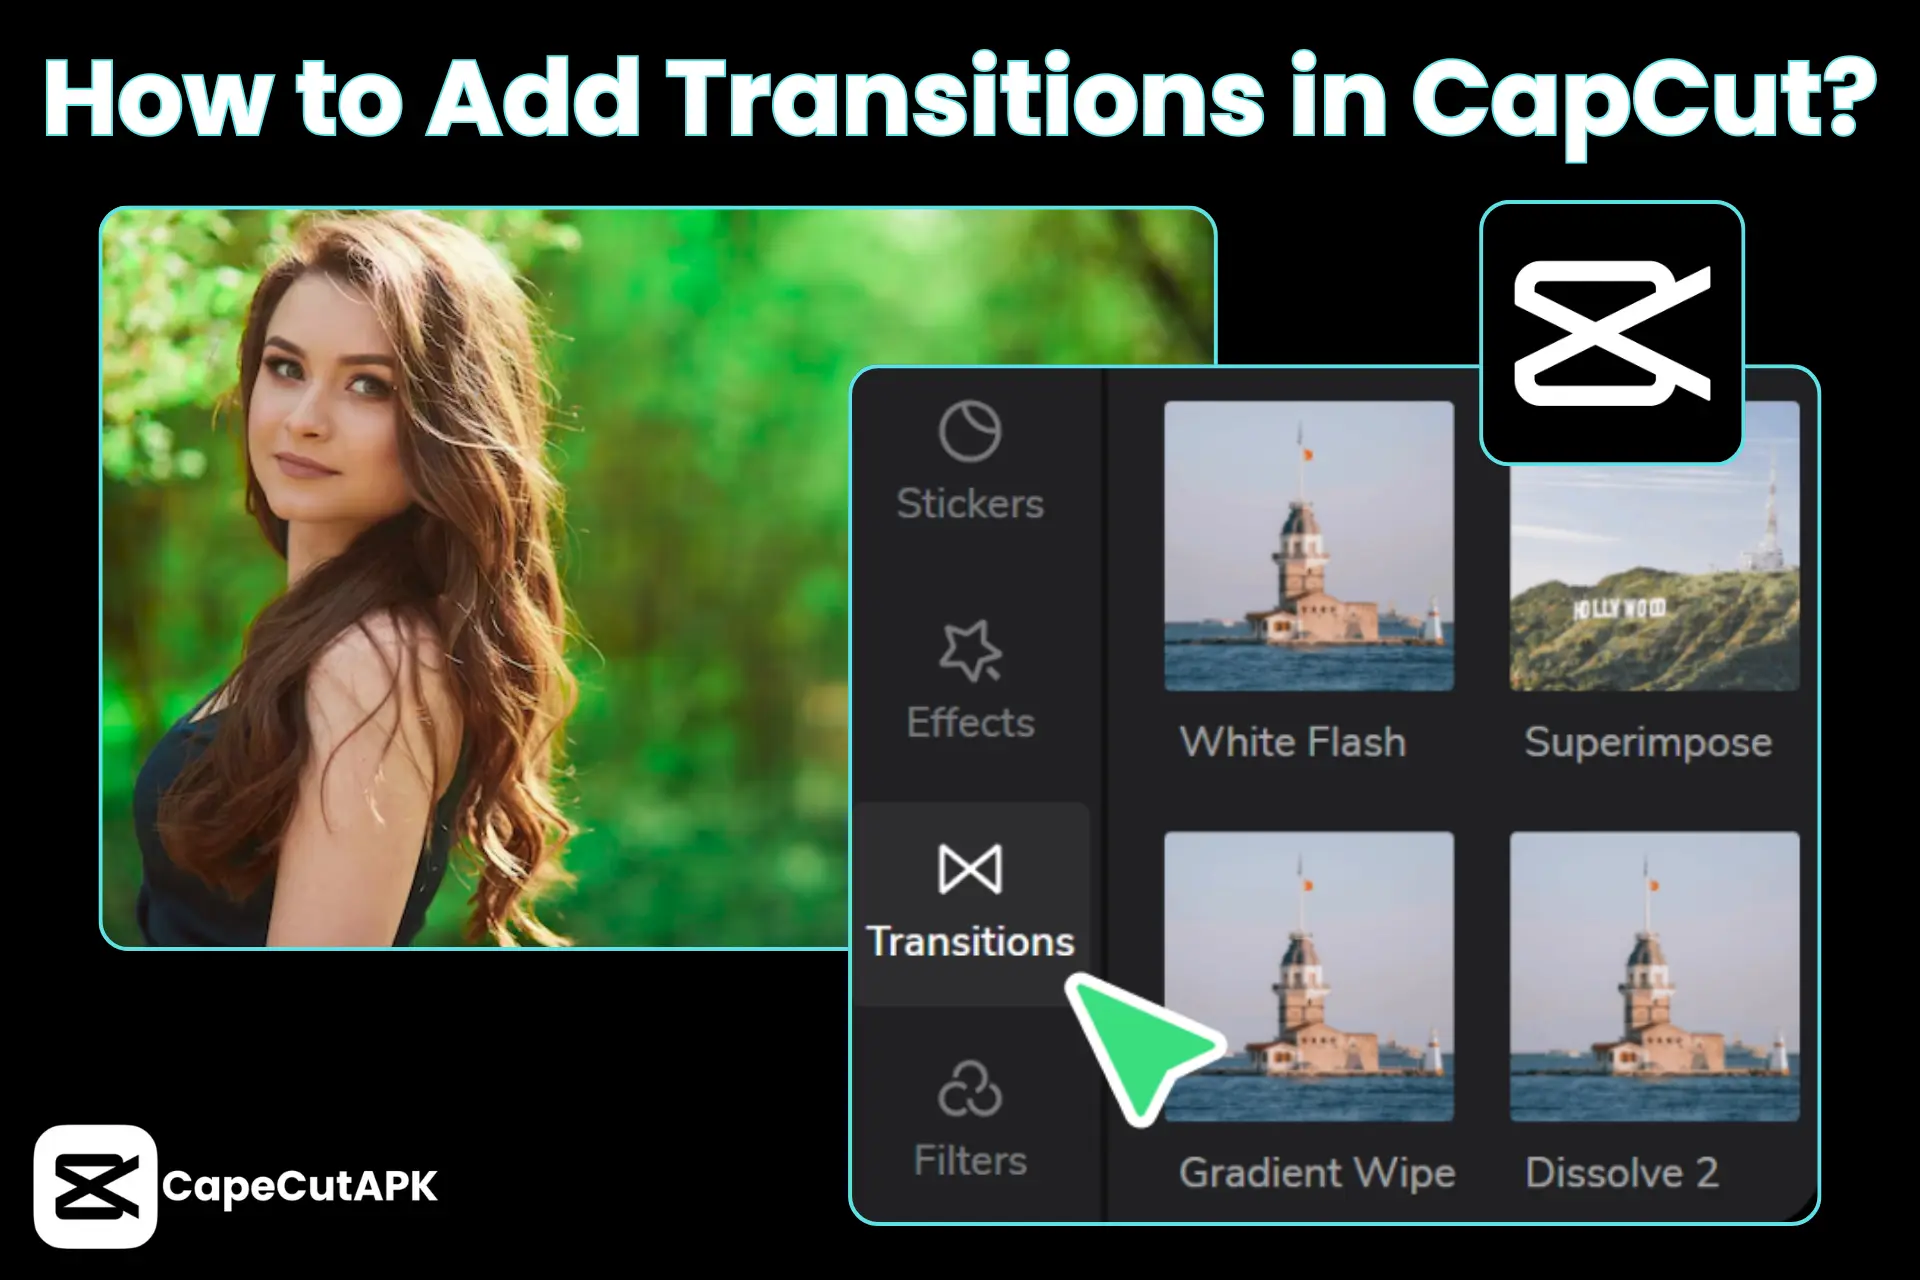
Step 2: Make ground edits. Now navigate to and open the transitions option in the menu in the upper-left corner.
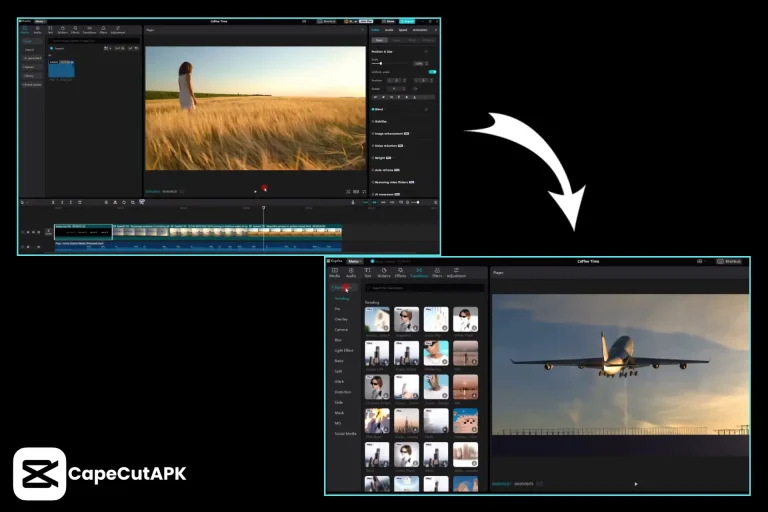
Step 3: Fade, blur, basic, glitch, slide, etc., are listed in the categories. Select the transition category and effect you want to insert. CapCut provides a smart search bar to find transition effects by name.
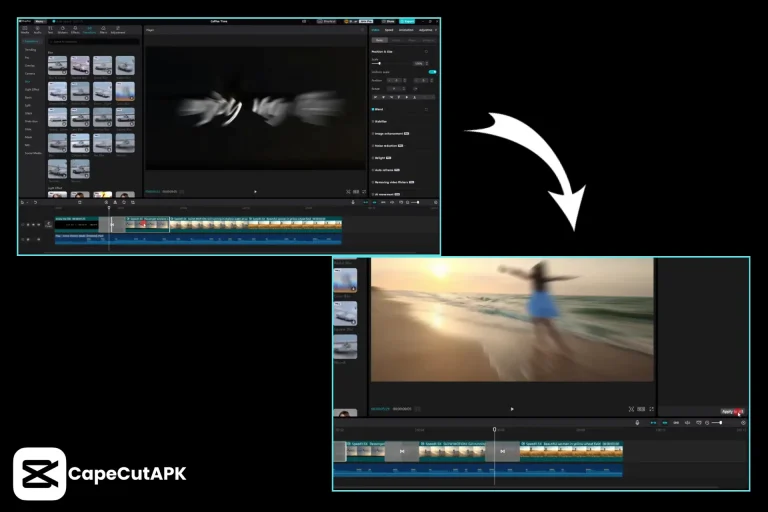
Step 4: Tap the “+” icon with the selected transition to add it to the timeline. Another option is to drag and drop the effect by its thumbnail in the center of two clips.
Step 5: Now, click the transition block between the clips and adjust its duration.
Step 6: Note: CapCut offers an option to “Apply to All” to add the same transition to all video clips in the project.
Step 7: Preview the whole video and export after satisfaction.
Types of CapCUt Transitions
There are plenty of built-in CapCut transitions present. However, you can import from external sources too. Here is a list of most commonly used CapCut transitions:
| Category | Transition Effects | Best Use |
| Basic | Fade In/Out, dissolve, crossfade | Smooth scene changes |
| Slide | Slide left/right, push up/down | Movement between clips |
| Zoom | Zoom In/Out, Camera Zoom | Dramatic focus shift |
| Blur | Motion/Gaussian/Spin Blur | Fast-paced edits |
| Glitch | RGB Glitch, Digital Noise, TV Static | Gaming / tech videos |
| Spin / Rotate | Rotate Clockwise, Flip, Swirl | Energetic edits |
| Light Effects | Flash, Lens Flare, Light Leak | Cinematic moments |
| Distortion | Warp, Stretch, Ripple | Creative / fun edits |
| 3D Effects | Cube Rotate, Page Turn, Fold | Stylish transitions |
| Shake | Camera Shake, Vibrate, Impact Shake | Action scenes |
| Split / Slice | Split Screen, Slice | Trendy social edits |
| Retro / VHS | VHS Static, Film Burn, Old TV | Nostalgic content |
| Mask / Shape | Circle/Heart Reveal, Star Wipe | Cute / themed videos |
| Speed Effects | Speed Ramp Transition, Whip Pan | Sports / travel edits |
| Liquid / Water | Drip, Wave, Splash | Fun / artistic clips |
| Category | Transition Effects | Best Use |
| Basic | Fade In/Out, dissolve, crossfade | Smooth scene changes |
| Slide | Slide left/right, push up/down | Movement between clips |
| Zoom | Zoom In/Out, Camera Zoom | Dramatic focus shift |
| Blur | Motion/Gaussian/Spin Blur | Fast-paced edits |
| Glitch | RGB Glitch, Digital Noise, TV Static | Gaming / tech videos |
| Spin / Rotate | Rotate Clockwise, Flip, Swirl | Energetic edits |
| Light Effects | Flash, Lens Flare, Light Leak | Cinematic moments |
| Distortion | Warp, Stretch, Ripple | Creative / fun edits |
| 3D Effects | Cube Rotate, Page Turn, Fold | Stylish transitions |
| Shake | Camera Shake, Vibrate, Impact Shake | Action scenes |
| Split / Slice | Split Screen, Slice | Trendy social edits |
| Retro / VHS | VHS Static, Film Burn, Old TV | Nostalgic content |
| Mask / Shape | Circle/Heart Reveal, Star Wipe | Cute / themed videos |
| Speed Effects | Speed Ramp Transition, Whip Pan | Sports / travel edits |
| Liquid / Water | Drip, Wave, Splash | Fun / artistic clips |
Conclusion
Transition assets in CapCut help creators quickly enhance content quality in a few clicks. Preventing sharp cuts in two scenes, CapCut transitions give a stylish change in visuals or storytelling. After reading in this article, you’ll learn how to add a transition in CapCut.