How to Add Text in CapCut? In-Depth Guide 2026

Are you looking for methods to insert Text into your clips on CapCut? Or do you want to add Text on your video to grab the attention of your audience instantly? Then, this article is best for you. In this Guide, you will get complete step-by-step instructions to add Text in CapCut.
You may apply the Text option to apply main headings, subtitles, captions, and highlight key points. By adding Text, you can make your video more engaging and professional. Text also plays a big role in attracting the attention of the audience.
The main goal of this article is to teach you exactly how to add attractive Text to your videos. So, stick with me to the conclusion if your goal is to create hot content.
Different Ways to Add Text in CapCut
CapCut lets you choose different paths to insert Text in your recordings. It depends on your editing needs, which way you should choose. You can choose:

Each method has its own advantages. If you master that when you use each method, you can make content more attractive.
Manual Text
If you want to write titles, subtitles, or short captions, then it is a good choice. To add Manual Text, follow these steps:
When should you choose it?
Choose the Manual Text option when you want complete control because you can choose fonts, colours, shadows, outlines, and animations.
If your video has no voice or it has just background music, then you can choose this method since Auto Caption will not work.
You can use it if you need precise timing and want to control the text appearance in the video timeline.
Auto Captions
CapCut has Auto Caption. It listens to your video and types out what people say. Great for vlogs, tutorials, or any video with talking. You do not need to type anything. when it’s done you can tweak the font, colours, and style when it’s done. It makes adding captions really quick and easy.
Follow these steps to use Auto Caption:
When should you choose it?
If you wish to speed up your work, then it’s recommended to use “Auto Caption”. When you use this feature, CapCut Pro automatically generates subtitles. Thus, you don’t need to type each word.
This feature is great if your video has spoken words, like in vlogs, as many viewers watch videos without sound. By using Auto Caption, they can still understand your content.
Text Effects
Text effects are animations like fade-in, bounce, typewriter, or slide. Animations help your Text stand out by adding movement. They work well when you want to draw attention to important points, make titles pop, or give your captions some extra life.
To use “Text Effects”, access the “Text” option. And you will get all types of text effects in the drop-down.
When do we use Text Effects?
We mostly use Text effects to make Text look creative and move on the screen. It helps in making a good hook and grabbing the attention of viewers on the spot.
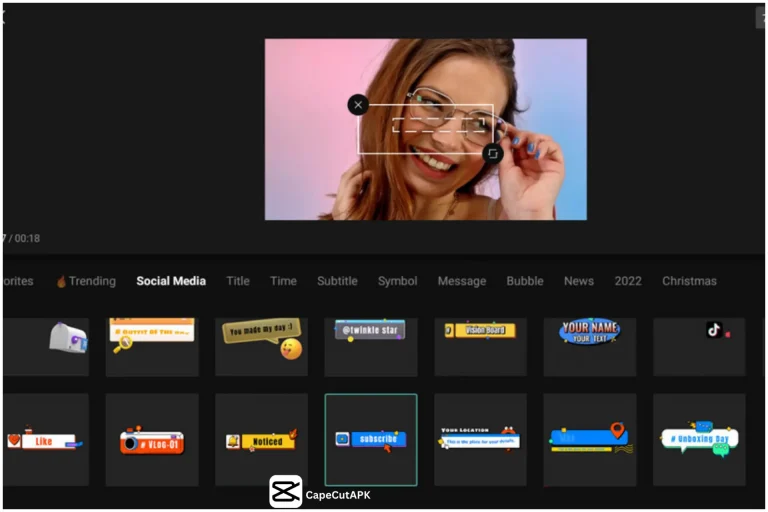
Text Templates
Text Templates are basically ready-made text designs. These text templates include animations with stylish fonts and colours. Text Templates make it easy to start editing. With the help of Text Templates, you don’t need to create everything from zero.
Templates make your work faster and easier. You can find a lot of text templates in the “Text” menu. They make adding nice-looking Text super quick and easy.
When do we use Text Templates?
It is perfect when you want to save time but also want to make professional videos.
Useful Tips for Adding Text in CapCut
Take special care of the following things while adding Text to your videos:
Keep Text Short and Clear: Text should always be simple and concise. So, viewers can read quickly and easily.
Use Readable Fonts and Colours: Always choose those colours and fonts that stand out from the background.
Don’t Overcrowd the Screen: On the screen, there should be displayed just one line at a time. Because too much Text can distract the audience from your video.
Use Effects and Templates Wisely: You should use effects and templates only to improve your video. Never use them just for decoration. By using too many effects and templates, you can distract your audience.
Preview your Video: After editing, check how your Text looks on screen. Fix everything that looks off before exporting the video.
Conclusion
Adding Text in CapCut is a simple and powerful way to make your content viral. There are different methods to insert Text into your video. If you use all these methods wisely in the correct way, then your content can fetch a lot of viewers.
Whether you use Manual Text, Auto Captions, Text Effects, or Text Templates, each mode has its own advantages. If you apply each of the instructions and tips, you can generate high-value and professional content.
Now, start practising these features. You will quickly see how using Text can make your videos go viral.